
Prep Work:
For about a week, each night after work we would come home and tear up more carpet. I didn't take any pictures of this step. I didn't think you wanted to see our dirty carpet. :) But because we knew it would be a while before we'd be getting to actually install the floors we decided to throw out the padding and keep the actual carpet until installation day. This way we could still have a little something cushy under our feet instead of plywood. Just be sure to pull up every. single. staple. there are TONS of them. It would have been disasterous to little puppy and kitty feet, not to mention the human kind had we forgotten one. Ouchie!
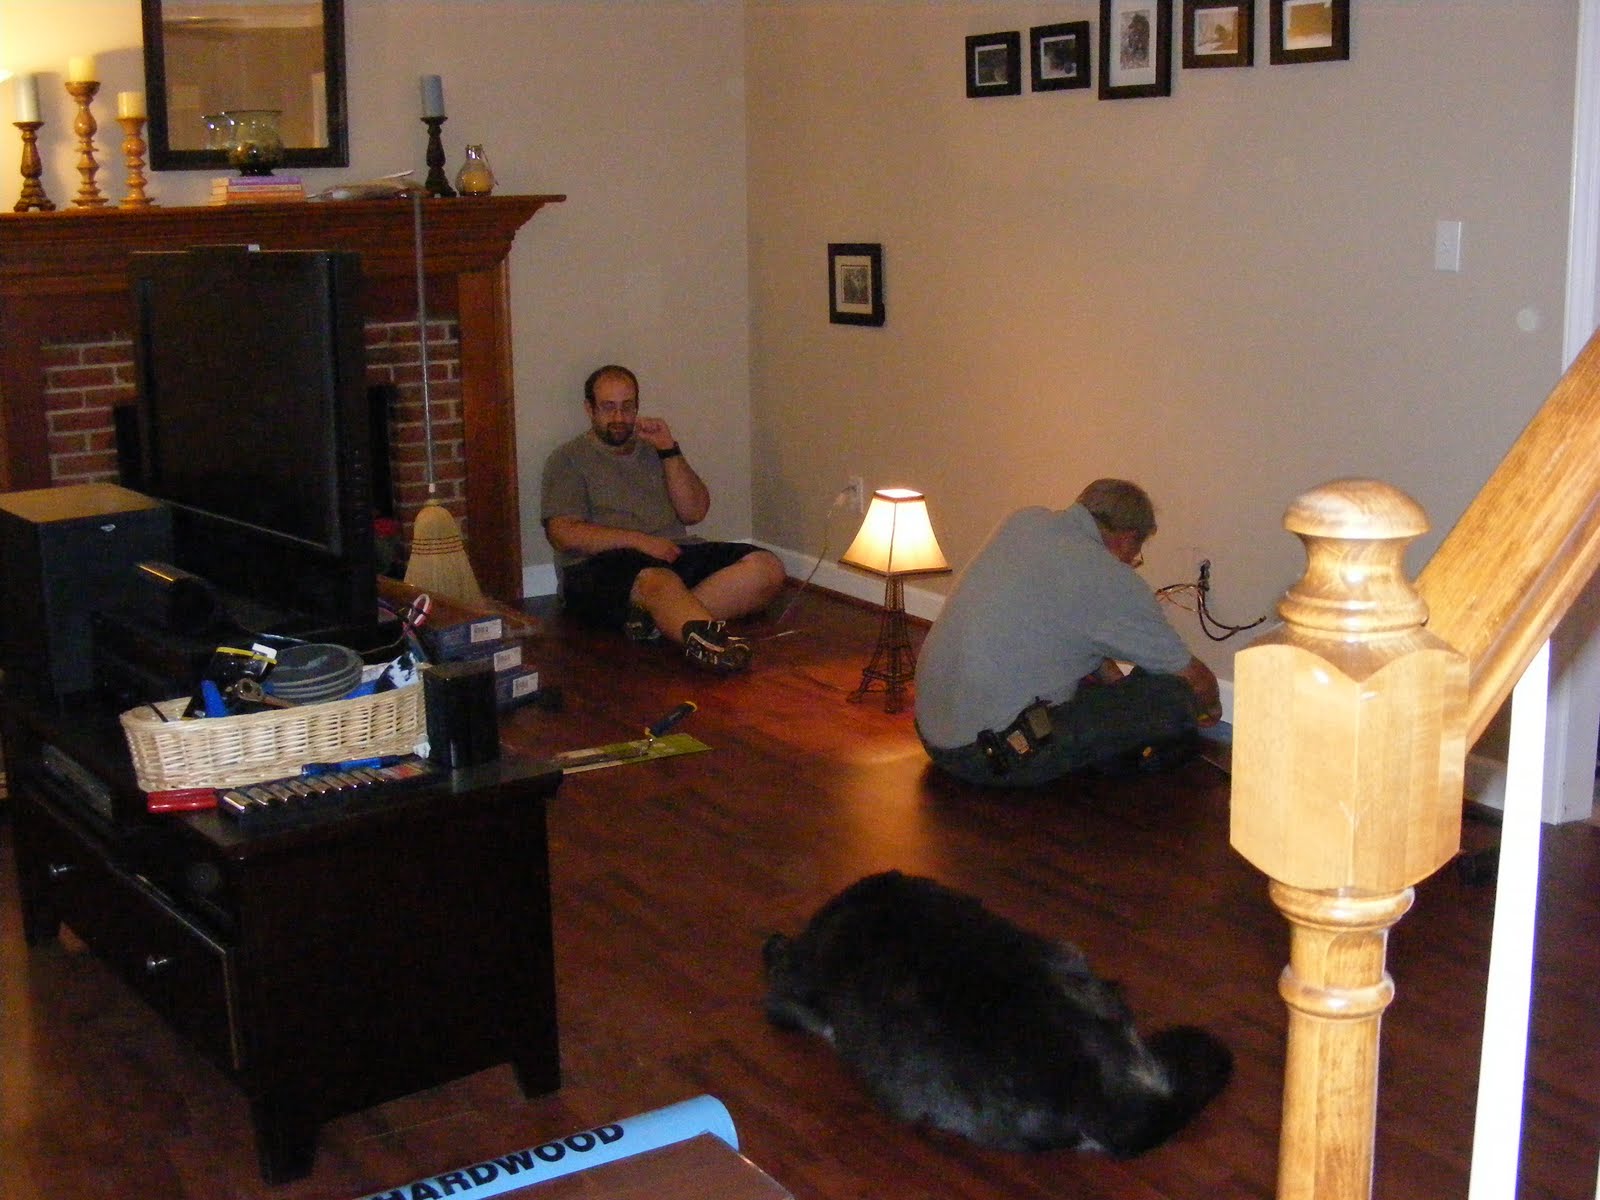
I am so lucky my husband is smarter than I am. One night after we were done with our nighly carpet removal he began pulling up all the surround-sound wires. I hadn't thought of it, but since we ripped up the carpet there was no way for the wires to still be hooked up under the floor. Hmm. So he went under the house and pulled the wires through the walls. I never would have thought of that until it was plugging everything back in after the floors were installed. I give him all the credit. It's for reasons like this I married him. Now we have all our wires coming through the wall in a pretty little plate.Sorry I forgot to take a picture of the final thing, but here's one of the progress while J. was under the house.

Installation Day:
We set up a tent with our equipment on the back deck.

- 12" compound miter saw (a 10 inch was too short to get through the entire board)
- Jigsaw (for cutting the boards with tight measurements)
- Flush Trim Saw (for cutting away at all the doorways. This is crucial for your floor to look professional)
- Rubber mallot
- Laminate Installing kit
- Nail gun with finish nails (we used 2 inch nails for the whole job. The 1 inch-ers just weren't getting deep enough)
- Measuring tape
- Lots of carpentry pencils
After removing all the furniture
The morning started off a little slow. After getting all our tools and equipment together and set up, we spread all the underlayment. This heavy-weight plastic tarp is a moisture barrier between your foundation and the flooring. Very important. It simply unfolds onto the floor, no taping, gluing or nailing here (at least it says you're not "supposed to". But when have we ever listened to "supposed to"? Just to keep everything staying where it should, we popped a few staples in every foot or so). Very easy. The hard part was next. This type of laminate flooring is considered a "floating floor". A floating floor simply means that it isn't nailed or glued to the foundation below. It just sits on top. Or it's (again) "supposed to".
We insalled the first row,

After that fiasco, it was simply laying and measuring and tapping. We did stagger every two rows to get a random pattern. One row started with a full board, the next 2/3 of a board and then the next 1/3. We really like the way it turned out. We had some tricky measuring around the staircase and the fireplace, but nothing that measuring about 6


All our hard work paid off big time. We are in. love.
Before:

mostly done (with Ranger Dad helping):
It really isn't a difficult job, but it's messy and time consuming. We had a few showers on and off through the day so it turned all the sawdust into a paste that was nicely spread throughout the house as we were going in and out. Not to mention that there was a very nice layer of sawdust on everything at the end of the day. Note to self for further projects: Don't leave the windows open (no matter how pretty a day it is) when there's sawdust and a breeze. Nothing a little dust rag can't pick up though. Apparently I like cleaning so much I unconsciously make more work for myself.
I'll do a post on all the details next. Once the project is completely done (keep in mind we're doing 3 rooms and the laundry area, so it's taking time) I'll post the final pictures.
I want to take a minute to thank some amazing people who helped us with this project. First of all, John's co-worker, Scott. Scott lent not only his time, but his tools, his know-how and some free labor (x3 since he also brought more help) to help John and I. We owe him big time. We may have to name our first born son after him. Thanks to Kitchen Diva and and Ranger Dad for helping bring us lunch, support and help too. It's because of our friends and family who give us all the support and extra's we need that help keep us going. A big, huge Thank You.
No comments:
Post a Comment
I put a lot of hard work into the blog, so I love hearing back from you! If you wish, leave me a comment and help make Southern Comfort a fun place to voice your thoughts too! Happy Writing, Elizabeth