
Hi friends!
I hope you all are enjoying the summer-like weather we're having here in the beginning of May. Days of popscicles, swimming, car washes, vacations and fireworks are just a few short weeks away. But before we get all in to that, let's look back just a bit first.
I mentioned a while ago how some of our projects seem to get pushed to the side. Mainly, projects we've finished, except for a dot of glue here, a dab of paint there etc. So, here I am to show you our laziness when it comes to finishing things up and the final result. Yep, I'm totally rockin' the fact that we've managed to get a few of those nagging "I'll get to it later" tasks completed. So lets get started.
Here are a few pictues from a previous post about this subject.
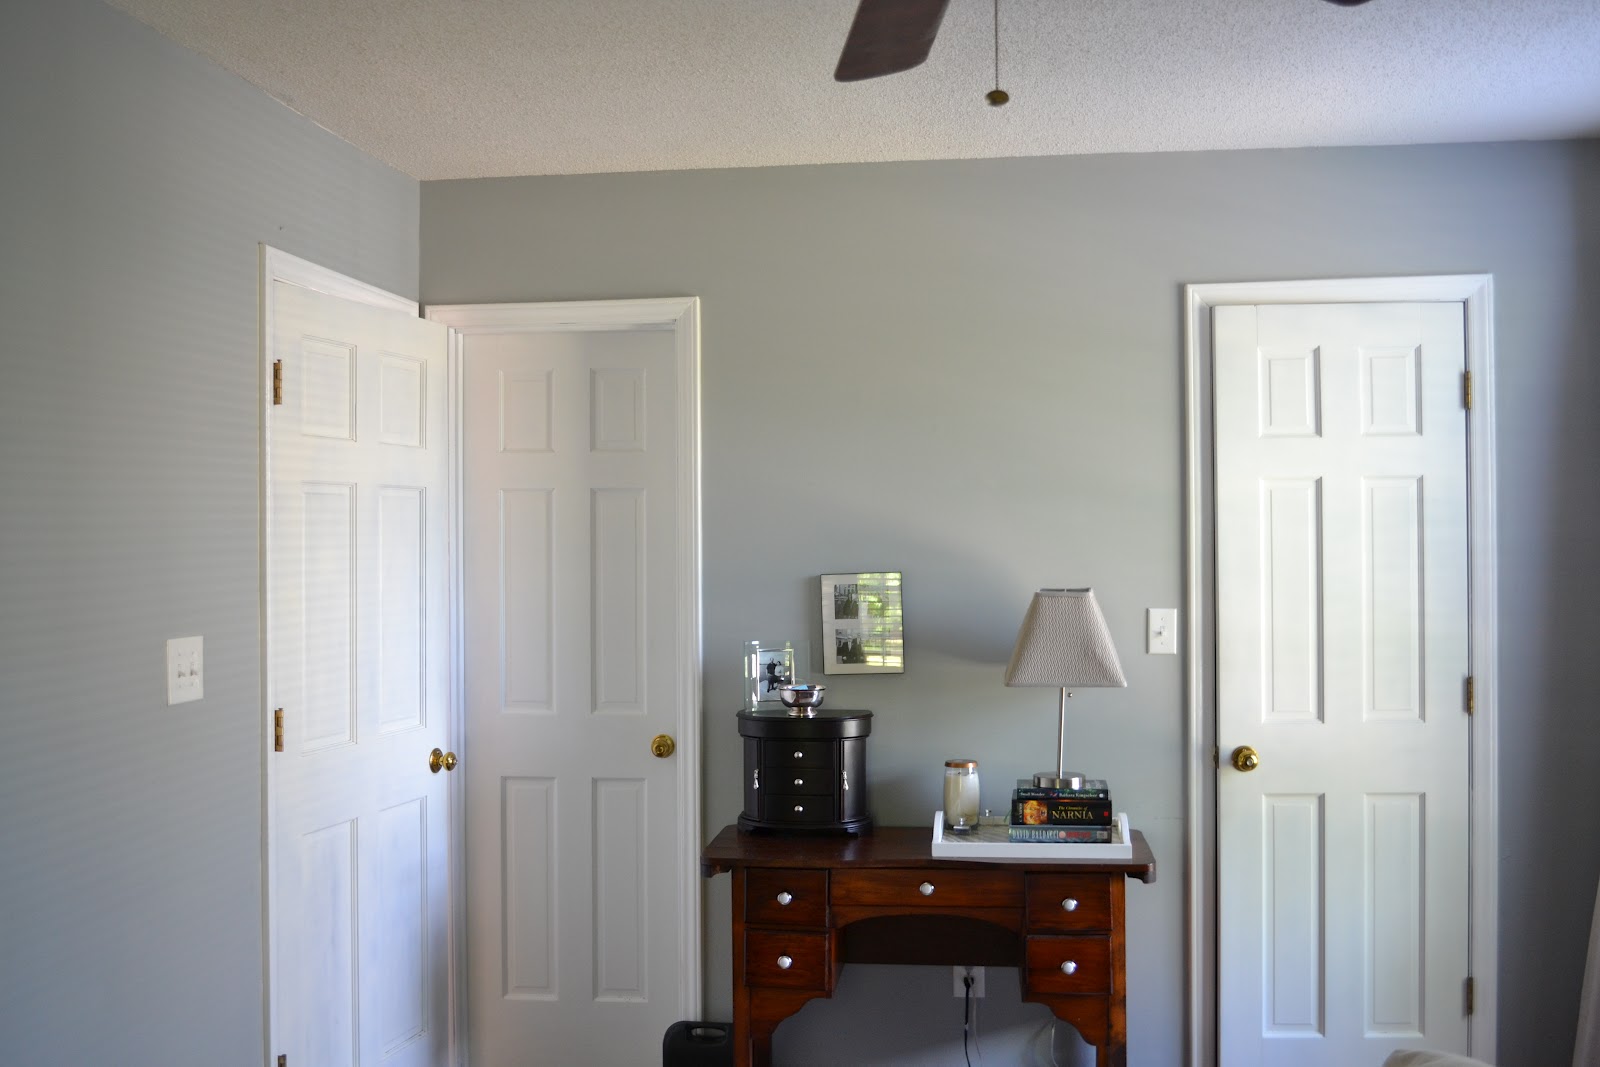
These doors are in our bedroom. The first leads to our kitchen (the master is on the first floor), the middle door is to the bathroom and the one on the right is our closet. All the doors and trim were the wood color in the entire house. So slowly and surely, we've been painting our hearts out. This was the last door we had to do downstairs.

After:

Much better right? We think so. So much crisper. Amazing what a little paint can do. Part of that may be the new camera. But who's counting? :)
Another painting project that was put on the back burner, was this:
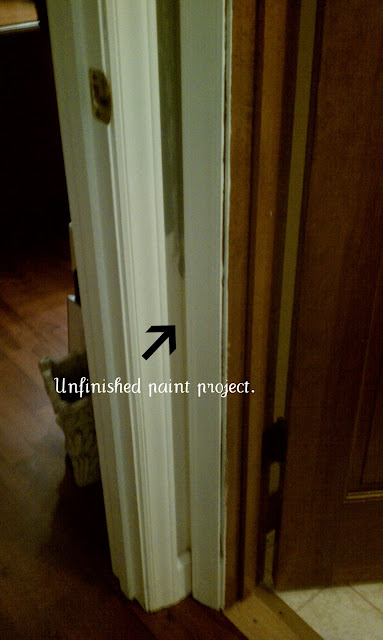
Oh my goodness. This was a super-duper no-no. I can't believe I #1 let this go for so long without being fixed, but more importantly, #2. I can't believe I didn't finish is while I was in the middle of painting!? I can't imagine what happened when I decided to leave it. Obviously the world didn't come to an end, no one died, and no one was hurt (that I can recall). So who knows why I left it like this. The important part is It got fixed.


I hope you all are enjoying the summer-like weather we're having here in the beginning of May. Days of popscicles, swimming, car washes, vacations and fireworks are just a few short weeks away. But before we get all in to that, let's look back just a bit first.

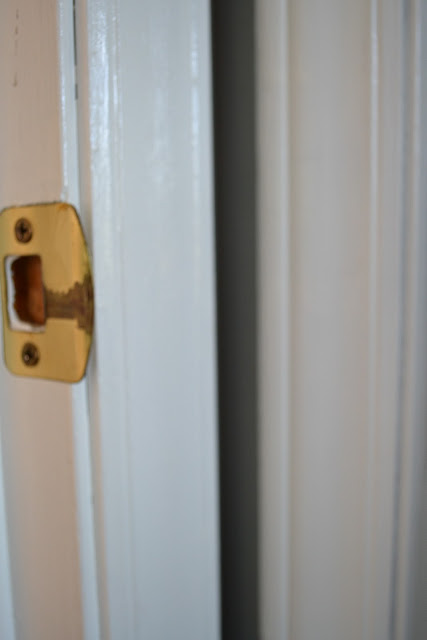
After:
Much better right? We think so. So much crisper. Amazing what a little paint can do. Part of that may be the new camera. But who's counting? :)
Another painting project that was put on the back burner, was this:

Oh my goodness. This was a super-duper no-no. I can't believe I #1 let this go for so long without being fixed, but more importantly, #2. I can't believe I didn't finish is while I was in the middle of painting!? I can't imagine what happened when I decided to leave it. Obviously the world didn't come to an end, no one died, and no one was hurt (that I can recall). So who knows why I left it like this. The important part is It got fixed.


I wish I could decide whether or not to replace the door knobs and door plates. I would love to have oil rubbed bronze ones, but they are really pricey. And I would never see that money again at resale. But these brass ones have certainly seen better days. Thoughts? Suggestions? I digress...
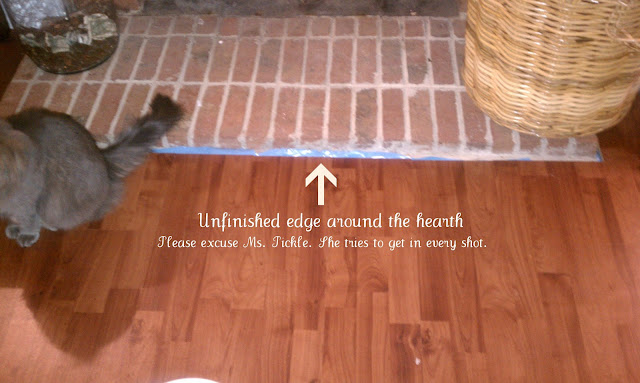
Anyway.. now we get into the larger of the "unfinished projects". These were primarily thresholds.


Because these are wood projects, left over from when we re-did our floors, we needed to find a stain in a very similar color as our floor. So we got our measurements and headed off to Lowes to see what we could come up with.

Here's the arsonel we came up with to tackle the job.
- A box cutter. If you don't have a miter saw (which we don't) this is your new best friend. I seriously love this thing. It's perfect for making precision cuts easily. And the best part? It's only 8 bucks for the whole kit at the hardware store.
- Liquid nails. We needed this for around the fireplace. I'll get to that in a second.
- Minwax polyeurothane and Cabot wood stain for staining and sealing our trim pieces.
- A tape measure. Just to make sure we don't screw up.
- Old rags for applying the stain/ poly.
We took a piece of scrap wood flooring to the store with us to find a stain that would make the best match. Here's the two next to one another. They're slightly different, but I'm ok with that. It really makes the floors pop against the trim. And it doesn't look at all like it doesn't match. They're a perfect combo that really highlight each other.

Here's another shot, after our pieces were stained.

When it came time to install the trim around the fireplace, things were a little more complicated than just nailing the strips in place. There was a band of cement from the brick that ran around the perimenter of the hearth, making any nail job completely useless. So, we opted to use liquid nails. We applied it to the floor first, and laid the trim on top. We sat heavy books on it and after the recommended time, we got this.

Not bad right? We love how finished everything looks.

So there you have it, our now finished, unfinished project list. :)
What sort of projects do you need to complete? Hopefully I've given you some motivation to get some items on your list accomplished. Have a great weekend everyone!
I'm happy to see a new post from you! The white trim & finished wood looks great!
ReplyDeleteWe, too, have super awesome brass knobs & even some shiny chrome light fixtures I got as "placeholders" when I first bought our house. I picked up some oil rubbed bronze spray paint & am itching to try it on some of these pieces! I'll let you know how it goes!
Have you tried it yet? I'm dying to know how it goes! :)
DeleteElizabeth, Sis told me about your blog. I have been reading it and I love it. I painted some paneling and stained window and doors in my utility room and mud room and took the brass knobs and plates and the light fixtures down and spray painted with the oil rubbed bronze spray paint. Oh! I even spray painted the light switch covers in there. It looks great. I did this over a year ago and it has held up very well. I am in the utility room and in and out the mud room numerous times a day and the paint on the door knobs has held up well. The hardest part was taking the doors down....but the only cost was a can of spray paint!!!!!! I made holes in a red plastic cup and stuck the screws in it and sprayed them! Worked great!!!! Tell John to get the doors down! :) Ann Strickland
ReplyDeleteAnn, Thanks so much for your comment! I have considered spraying all our hardware, but I'm really torn/ lazy about it. And now with the kiddo's coming, I think it's going to get pushed further back on the to-do list. Maybe one day I'll get a bee in my pants and knock it out. We'll see. :) I am very pleased to know you've had great luck with sustainability on yours! What brand paint did you use? I've heard great things about Rustoleum for these types of projects.
Delete